FAQ Q107: How to store a digital signature of a message or file on the tangle
A digital signature is similar to signing a commercial paper contract with a hand-written and more-or-less unique signature. The digital signature proves to the world that given content was signed by given entity and that the content has not been tampered with since the signing. Totangle uses RSA private/public keys and SHA256 signature algorithm. Publishing a digital signature on a distributed ledger (tangle, blockchain) is very useful to prove beyond any doubt that given content was signed by given person on given date and that the content has not since been tampered with. Anybody can very easily verify this using the content and the person's public key which should be made public to the world.
Totangle creates its own private key / public key pair for you. You can download these keys by going to my account. The private key must never be shared with anyone while the public key can be freely published, e.g. on your website.
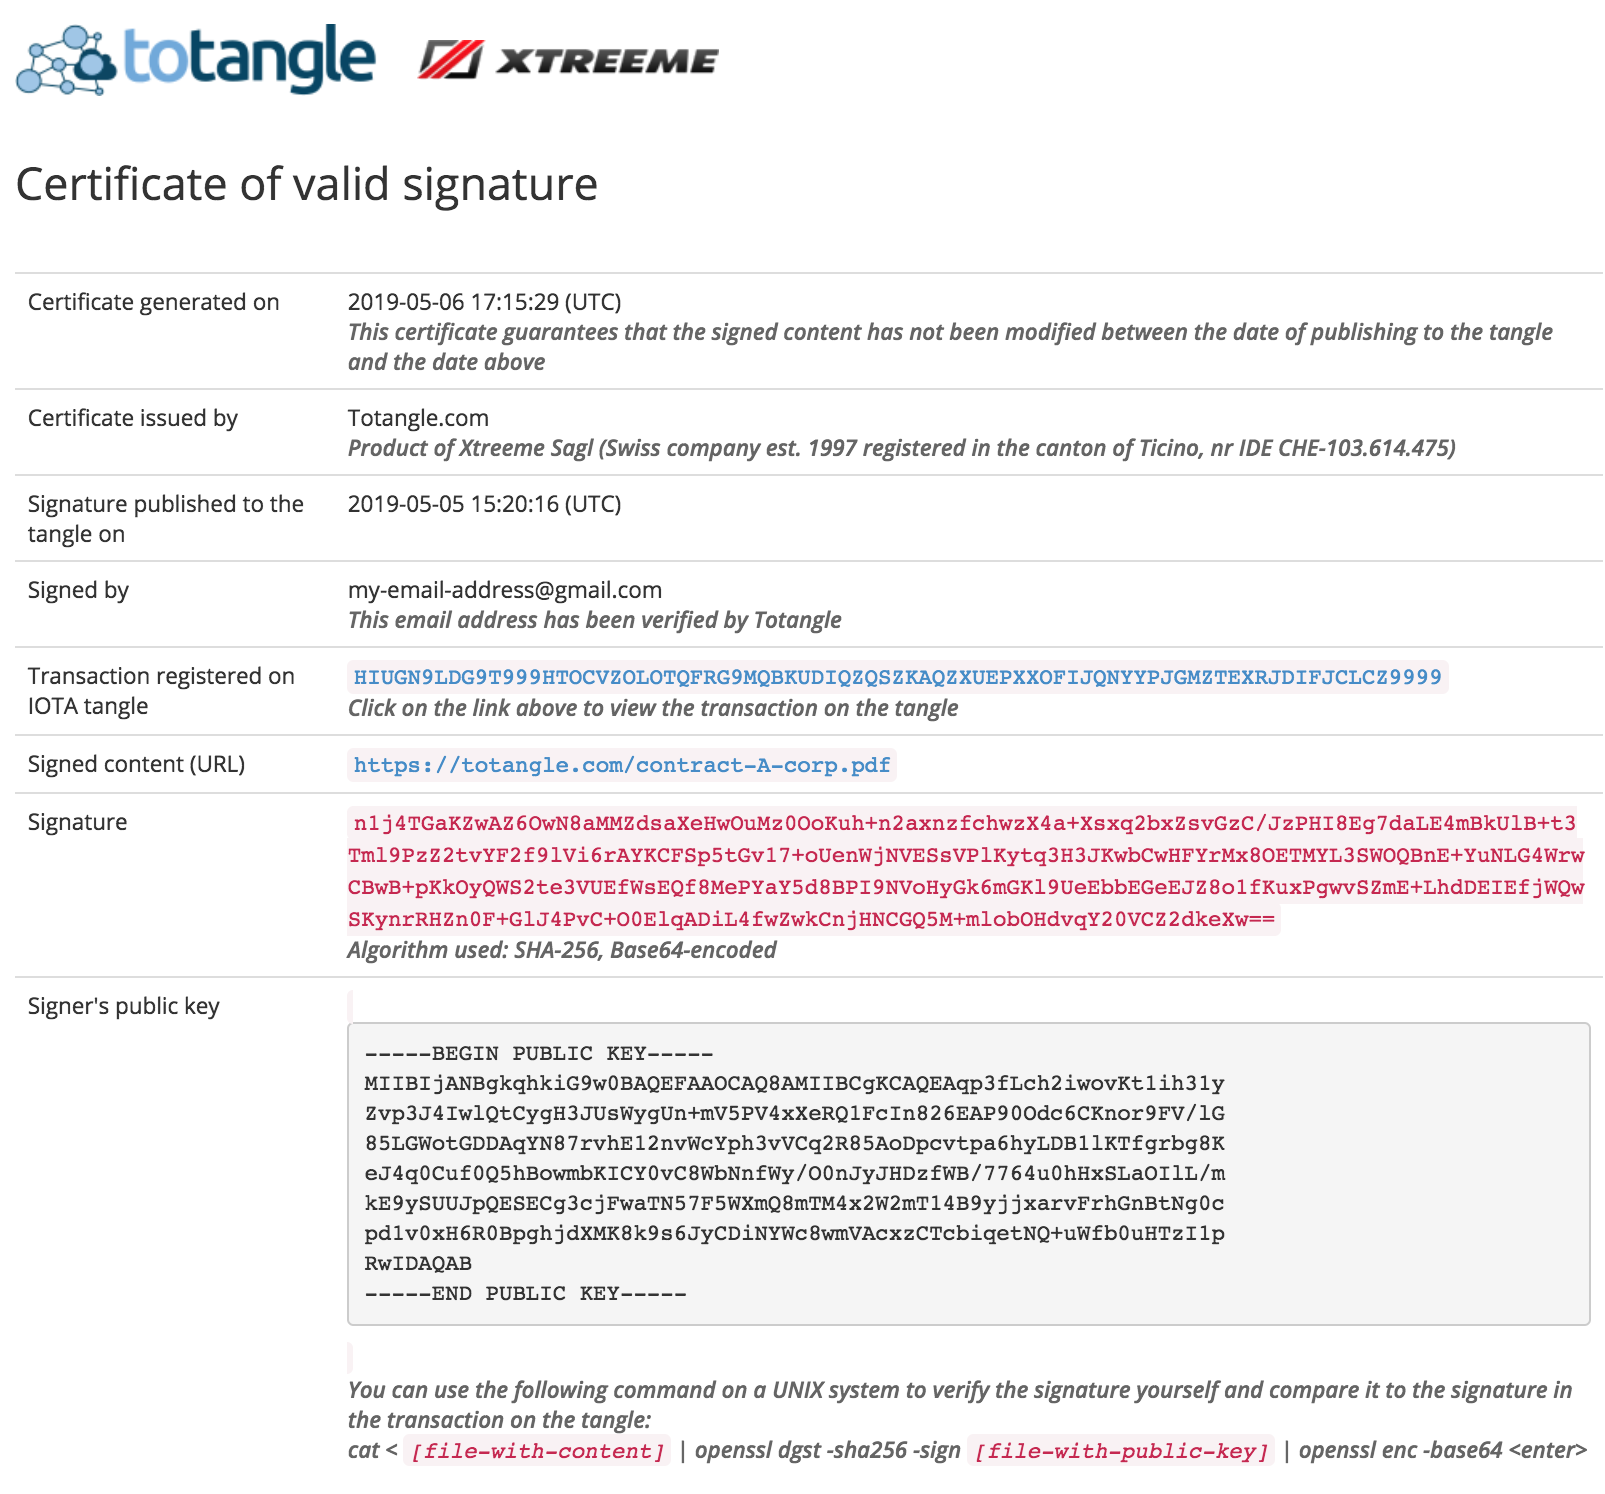
Totangle will give you access to a special certificate URL which you can share with anybody (but if you don't want to share it, noone will have access to it). This URL (accessible in the transaction details) will certify that given content was signed on given date by a person whose verified email address is specified. If you additionally publish the public key on your website, everyone will know that the content was signed by the owner of your website. If your website has an SSL certificate, your digital signature can be tied to a real-world entity without a doubt.
Totangle can create a digital signature of any field in the trigger event OR it can create a digital signature of a file whose URL is sent in the trigger event. Totangle will first download the file and then it will generate the hash value. Note that the maximum file size is 5MB.
In this tutorial we'll create a rule which will store on the Tangle digital signatures of documents. The data source will be a Google Spreadsheet (although we could use a wide choice of data sources). This way we can prove to the world that given document was signed by us. The resulting transaction on the Tangle (with a timestamp) will be the proof. Once the Totangle rule is configured, the only thing necessary will be to create a new row in a Google Sheet. Totangle will take care of the rest.
In the blue menu on the left, go to Rules and add a new rule. Choose Google Sheets as the trigger.

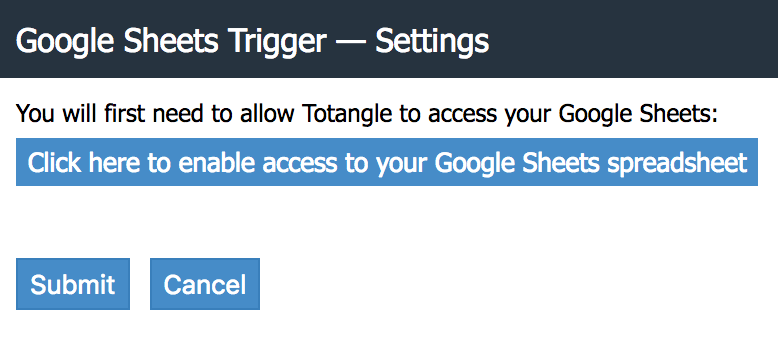
Then, click the blue button to allow Totangle to access your Google account.
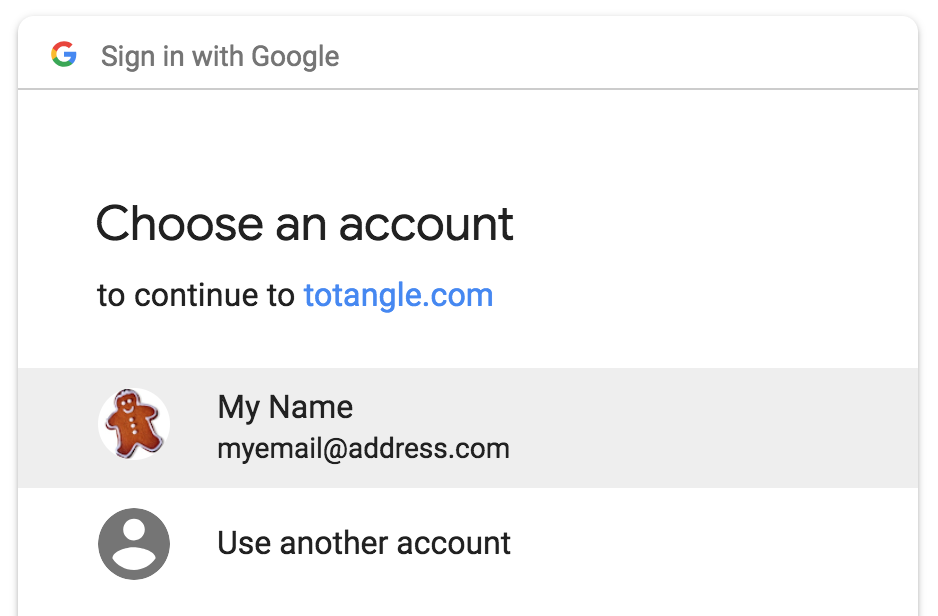
Choose the Google account which has access to your spreadsheet.
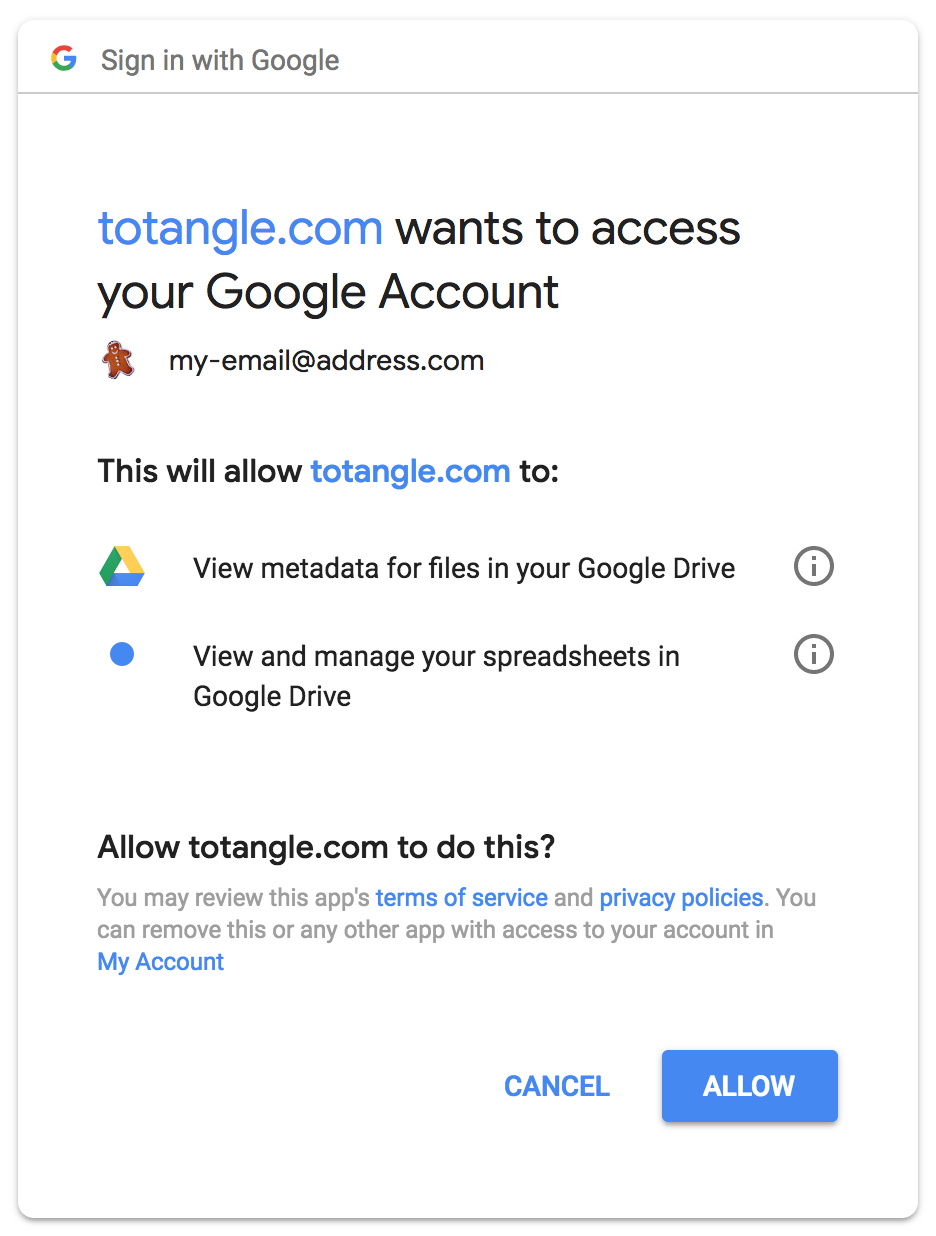
The next screen will tell you which access type is requested. The View metadata access is needed so that we can fetch the list of your Google Sheet spreadsheets and the View and manage spreadsheets access is needed to read from and write to your chosen spreadsheet.
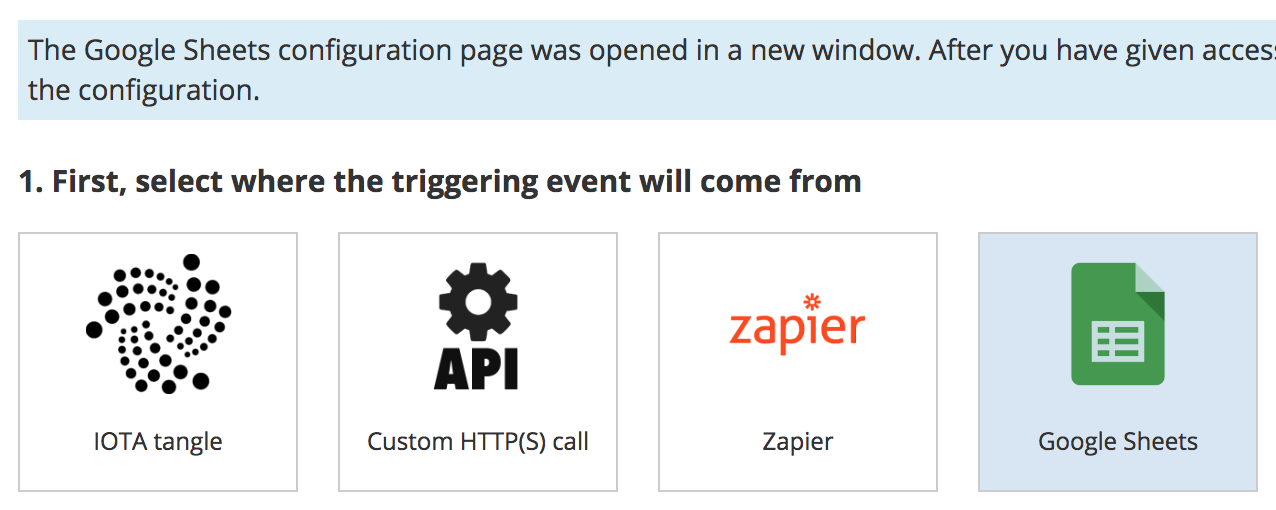
Now, click once again on the Google Sheets trigger in the rule configuration:
Let's take a look at the actual spreadsheet. Note that you must use the first (default) sheet and the data must start in the first row (column labels in row 1 and data rows in rows 2 and higher).
Now in the first row add two label columns: document URL and transaction status. The first column will include the URLs of the signed documents and the second column is needed by Totangle so it knows when the export must be performed (you must type send when a row is ready) and once the transactions is created this column will include the Totangle transaction ID for your reference.
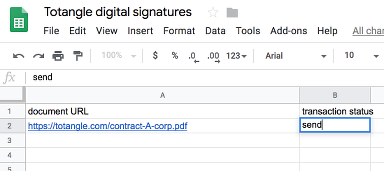
Now, select the spreadsheet document to be used. When you do this, you'll see the list of columns read. Indicate which column is the status column, in the case of this tutorial, it's called Transaction status.
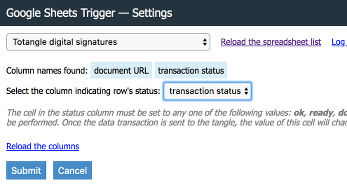
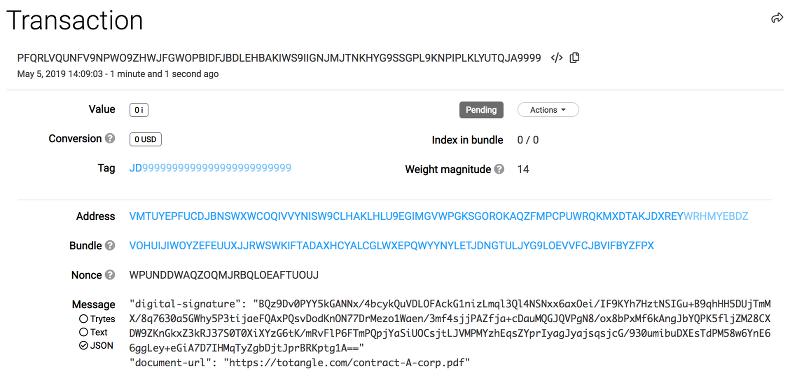
Submit the configuration screen, then skip the second step of the configuration (filters) and in the third step select the IOTA tangle action. This will open the IOTA tangle configuration screen. Transaction type should be set to Data transaction (JSON) so that each column can be sent separately in the JSON format. You will also need to name the JSON fields sent, let's add fields: document-url and digital-signature.
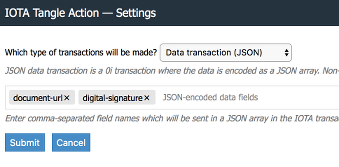
In the fourth step, you need to map the trigger fields (columns in the spreadsheet) to the JSON fields which will be sent in the data transaction on the tangle. Use the tags $(...) which will be replaced with the spreadsheet data or other information, such as current timestamp or the Totangle transaction ID. You can also specify any other text you wish or put multiple tags in a single field. In this case the most important field is digital-signature whose value we'll set to

Now, we need to activate the new rule and then let's do a simple test. In the Google Sheet, let's add a data row. Remember to set the last column (transaction status) to send only after all other columns are filled out.

After a few minutes the transaction should be sent and you'll see the Totangle transaction ID (HGG in the example below) in place of the word send:
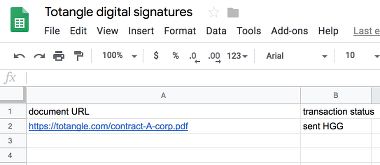
Note that if you quickly add multiple data rows, only a single record will be sent at a time, so e.g. 10 records will take over an hour to be sent.
Here's the resulting transaction in the tangle. You'll find the transaction hash by clicking on the transaction ID in the transaction log.
On the transaction details page you will also find the URL of a certificate which you can publically share. The certificate will include all data to prove that the document was signed by you and that it hasn't been tampered with since the signing and publishing the transaction on the tangle. Of course if after signing you change the document contents, the certificate will show an error message.
Please see Q106 if you want to find out how to store digital fingerprints (hashes) in the tangle.
Totangle creates its own private key / public key pair for you. You can download these keys by going to my account. The private key must never be shared with anyone while the public key can be freely published, e.g. on your website.
Totangle will give you access to a special certificate URL which you can share with anybody (but if you don't want to share it, noone will have access to it). This URL (accessible in the transaction details) will certify that given content was signed on given date by a person whose verified email address is specified. If you additionally publish the public key on your website, everyone will know that the content was signed by the owner of your website. If your website has an SSL certificate, your digital signature can be tied to a real-world entity without a doubt.
Totangle can create a digital signature of any field in the trigger event OR it can create a digital signature of a file whose URL is sent in the trigger event. Totangle will first download the file and then it will generate the hash value. Note that the maximum file size is 5MB.
In this tutorial we'll create a rule which will store on the Tangle digital signatures of documents. The data source will be a Google Spreadsheet (although we could use a wide choice of data sources). This way we can prove to the world that given document was signed by us. The resulting transaction on the Tangle (with a timestamp) will be the proof. Once the Totangle rule is configured, the only thing necessary will be to create a new row in a Google Sheet. Totangle will take care of the rest.
In the blue menu on the left, go to Rules and add a new rule. Choose Google Sheets as the trigger.

Then, click the blue button to allow Totangle to access your Google account.

Choose the Google account which has access to your spreadsheet.

The next screen will tell you which access type is requested. The View metadata access is needed so that we can fetch the list of your Google Sheet spreadsheets and the View and manage spreadsheets access is needed to read from and write to your chosen spreadsheet.

Now, click once again on the Google Sheets trigger in the rule configuration:

Let's take a look at the actual spreadsheet. Note that you must use the first (default) sheet and the data must start in the first row (column labels in row 1 and data rows in rows 2 and higher).
Now in the first row add two label columns: document URL and transaction status. The first column will include the URLs of the signed documents and the second column is needed by Totangle so it knows when the export must be performed (you must type send when a row is ready) and once the transactions is created this column will include the Totangle transaction ID for your reference.

Now, select the spreadsheet document to be used. When you do this, you'll see the list of columns read. Indicate which column is the status column, in the case of this tutorial, it's called Transaction status.

Submit the configuration screen, then skip the second step of the configuration (filters) and in the third step select the IOTA tangle action. This will open the IOTA tangle configuration screen. Transaction type should be set to Data transaction (JSON) so that each column can be sent separately in the JSON format. You will also need to name the JSON fields sent, let's add fields: document-url and digital-signature.

In the fourth step, you need to map the trigger fields (columns in the spreadsheet) to the JSON fields which will be sent in the data transaction on the tangle. Use the tags $(...) which will be replaced with the spreadsheet data or other information, such as current timestamp or the Totangle transaction ID. You can also specify any other text you wish or put multiple tags in a single field. In this case the most important field is digital-signature whose value we'll set to
$(sign_url:$(document_url)). The $(document_url) tag simply fetches the value of the document_url trigger event field and the tag $(sign_url:xxx) downloads the contents of the file whose URL is specified in place of xxx and calculates the digital signature.
Now, we need to activate the new rule and then let's do a simple test. In the Google Sheet, let's add a data row. Remember to set the last column (transaction status) to send only after all other columns are filled out.

After a few minutes the transaction should be sent and you'll see the Totangle transaction ID (HGG in the example below) in place of the word send:

Note that if you quickly add multiple data rows, only a single record will be sent at a time, so e.g. 10 records will take over an hour to be sent.
Here's the resulting transaction in the tangle. You'll find the transaction hash by clicking on the transaction ID in the transaction log.

On the transaction details page you will also find the URL of a certificate which you can publically share. The certificate will include all data to prove that the document was signed by you and that it hasn't been tampered with since the signing and publishing the transaction on the tangle. Of course if after signing you change the document contents, the certificate will show an error message.

Please see Q106 if you want to find out how to store digital fingerprints (hashes) in the tangle.